

How to Wash a Car at the Carwash: A Beginner's Guide

You pull into the self-service bay, ready to give your car a much-needed clean. But what’s the right order of operations? Do you tackle the wheels first? Is the foam brush safe to use? Knowing how to wash a car at the carwash can feel confusing, and a few wrong moves can lead to disappointing results or even damaged paint. We’re here to clear things up with a step-by-step guide to a perfect, scratch-free wash. Following these simple but crucial steps will help you work efficiently, protect your vehicle’s finish, and achieve that deep, glossy shine you’re after. It’s the best way to maintain your car between professional details.
Key Takeaways
- Master the wash process to prevent scratches
: Always work from the top of the car down and wash in straight lines to avoid creating swirl marks. Rinsing your wash mitt in a separate bucket of plain water before getting more soap is the best way to keep grit off your paint.
- Bring your own supplies for a safer clean
: Ditch the potentially damaging communal brushes and harsh soaps at a self-service bay. Using your own soft wash mitt, pH-balanced car soap, and clean microfiber towels is essential for protecting your car's finish.
- Protect your paint for a longer-lasting shine
: A wash is not complete until the paint is protected. Applying wax every few months or investing in a professional ceramic coating creates a shield against the elements, keeping your car cleaner for longer and making future washes much easier.
Your Self-Service Car Wash Checklist
Heading to a self-service car wash can be a great way to get a hands-on clean, but showing up unprepared can lead to a frustrating experience and less-than-sparkling results. The brushes provided are often stiff and can hold grit from previous users, which can scratch your paint. The soap might not be the best quality for your car’s finish. By bringing a few key items with you, you can turn a basic spray-and-rinse into a pro-level wash that protects your vehicle. Think of it as your personal car care toolkit.
This checklist covers the essentials that will help you wash your car safely and effectively, avoiding common pitfalls like scratching the paint or stripping your wax. Having these items ready to go means you can work efficiently and make the most of your time and money at the wash bay. Of course, if gathering supplies sounds like a chore, you can always skip the prep work and enjoy a consistently perfect clean with an unlimited wash subscription, letting our advanced technology do all the heavy lifting for you.
Wash Mitt and Microfiber Towels
Ditch the gritty, communal foam brush. Bringing your own wash mitt is the single best thing you can do to protect your car's paint at a self-service bay. A soft wash mitt, preferably made of microfiber or chenille, gently lifts dirt away from the surface without grinding it in. After the final rinse, use a separate, clean set of microfiber towels for drying. These super-absorbent towels soak up water without leaving lint or streaks behind, preventing water spots from forming on your clean finish. This simple swap makes a world of difference in preventing swirl marks and fine scratches.
pH-Balanced Car Soap
It might be tempting to use the soap from the spray wand, but bringing your own is a much safer bet. Many household cleaners, like dish soap, are too harsh for automotive paint. They can strip away the protective wax or sealant on your car, leaving the finish vulnerable to the elements. Always use a pH-balanced car soap specifically formulated for vehicles. This type of soap is tough on dirt and grime but gentle on your car’s paint, plastic trim, and rubber seals, ensuring you clean your car without causing unintended damage.
Wheel and Tire Cleaner
Your wheels and tires are usually the dirtiest parts of your car, covered in brake dust and road grime that regular car soap can’t always handle. That’s why a dedicated wheel and tire cleaner is a must-have. These cleaners are formulated to break down stubborn contaminants without harming your wheel’s finish. It’s best to tackle the wheels and tires first. This way, you avoid splashing dirty water and brake dust onto your freshly washed car panels later in the process, keeping your workflow clean and efficient.
Two Buckets and a Grit Guard
This is a classic detailer’s trick for a scratch-free wash. The two-bucket method is simple: one bucket holds your soapy water, and the other holds plain water for rinsing your wash mitt. After cleaning a section of your car, rinse the dirty mitt in the plain water bucket before dipping it back into the soapy water. This prevents dirt and grit from contaminating your clean soap. For even better results, place a grit guard at the bottom of each bucket. This plastic screen traps dirt at the bottom, ensuring your mitt stays clean.
Optional (but Helpful) Extras
If you want to take your self-service wash to the next level, a few extra items can add that finishing touch. A high-quality drying aid can make the drying process faster and add a bit of gloss and protection. Applying a tire shine with a foam applicator will give your tires a rich, dark finish that completes the clean look. For the ultimate long-term protection that makes every wash easier, consider a professional service. A ceramic coating creates a durable, slick barrier that repels dirt and water, keeping your car cleaner for longer.
How to Use a Self-Service Car Wash
While our express washes are perfect for a quick, high-quality clean, sometimes you want to take a more hands-on approach. Using a self-service bay gives you full control over the process, letting you pay extra attention to the areas that need it most. It’s a satisfying way to spend an afternoon and connect with your car. Just find one of our locations with a self-service bay, grab your supplies, and follow these steps for a professional-level clean.
Step 1: Prep Your Car Before You Go
A great wash starts before you even leave the driveway. Taking a few minutes to prep your car will make the whole process smoother and more effective. First, remove your floor mats so you can wash them separately without getting the interior of your car wet. This is also a good time to clear out any trash. Make sure all your windows are rolled up tight and retract your antenna if you have one. A quick check now prevents a soapy surprise inside your car later.
Step 2: Pre-Rinse to Loosen Dirt
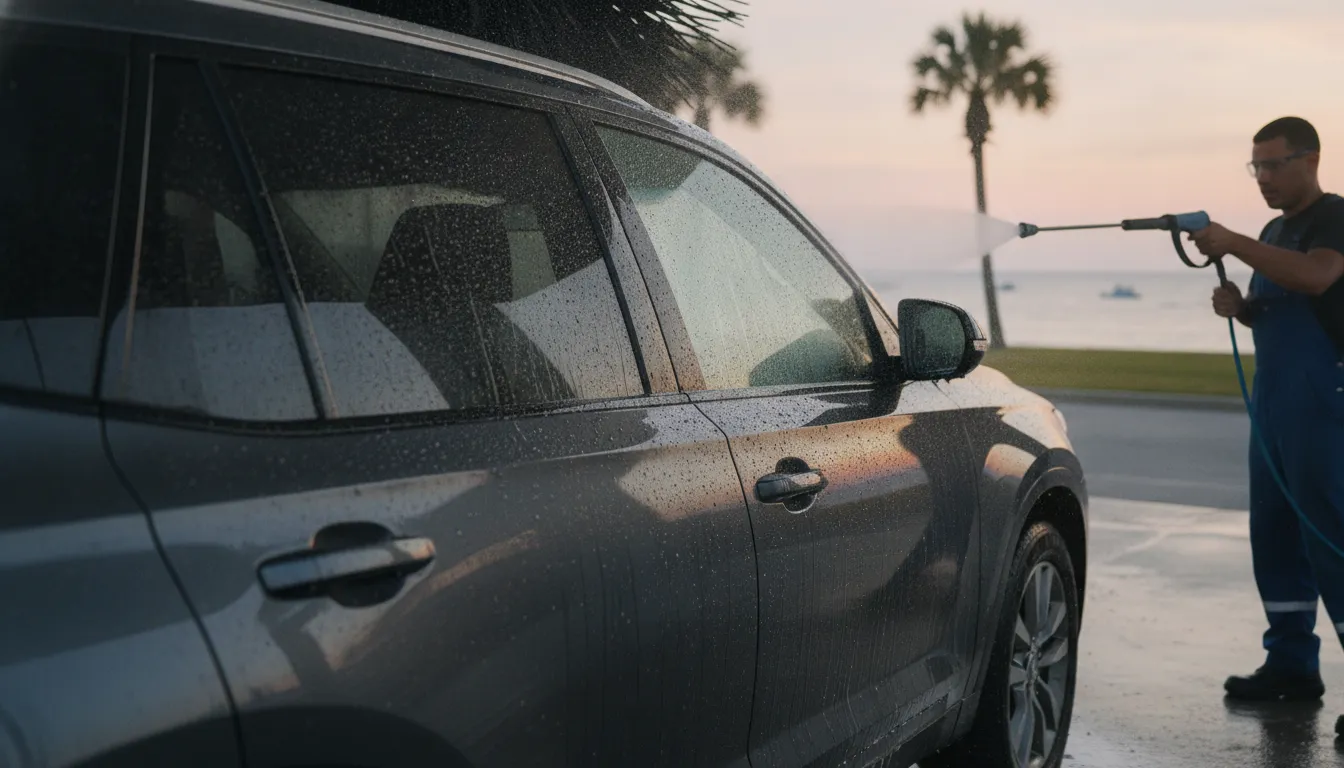
Once you’re in the bay, don’t jump straight to the suds. The pre-rinse is a critical first step. Grab the high-pressure sprayer and give your entire vehicle a thorough rinse, starting from the roof and working your way down. The goal here is to knock off all the loose dirt, sand, and grime. Skipping this step means you’ll be grinding that abrasive debris into your paint with your wash mitt, which is a primary cause of swirl marks and scratches. A good pre-rinse ensures you’re working on a much cleaner surface.
Step 3: Tackle the Wheels and Tires First
It might feel backward, but you should always wash your wheels and tires before touching the rest of the car. Your wheels are typically the dirtiest part of your vehicle, covered in brake dust and road grime that you don’t want to spread. By washing them first, you prevent dirty water and harsh wheel cleaners from splashing onto your freshly cleaned paint. Use your dedicated wheel cleaner and brushes to scrub the tires and get into all the crevices of your rims. Rinse them thoroughly before moving on to the car’s body.
Step 4: Wash from the Top Down
Now it’s time for the soap. Fill your bucket with a quality car wash soap and water, then start washing with your clean mitt. Just like with the pre-rinse, always work from the top of the car down. Gravity is your best friend here; washing this way ensures that dirty suds flow down over areas you haven't washed yet. If you start at the bottom, you’ll be dragging dirt from the lower panels up onto the cleaner parts of the car. Work in small, manageable sections, like the roof, hood, and one side at a time.
Step 5: Rinse Thoroughly
After you’ve soaped up the entire car, it’s time to rinse it all off. Switch the sprayer back to the rinse setting and, once again, work from the top down. A thorough rinse is key to a spot-free finish. Any leftover soap residue can dry on your paint and leave behind a dull film that’s tough to remove. Be methodical and make sure you rinse every surface, including the grille, around the side mirrors, and inside the door jambs. Don’t rush this step; a few extra minutes of rinsing makes a huge difference.
Step 6: Dry with a Microfiber Towel
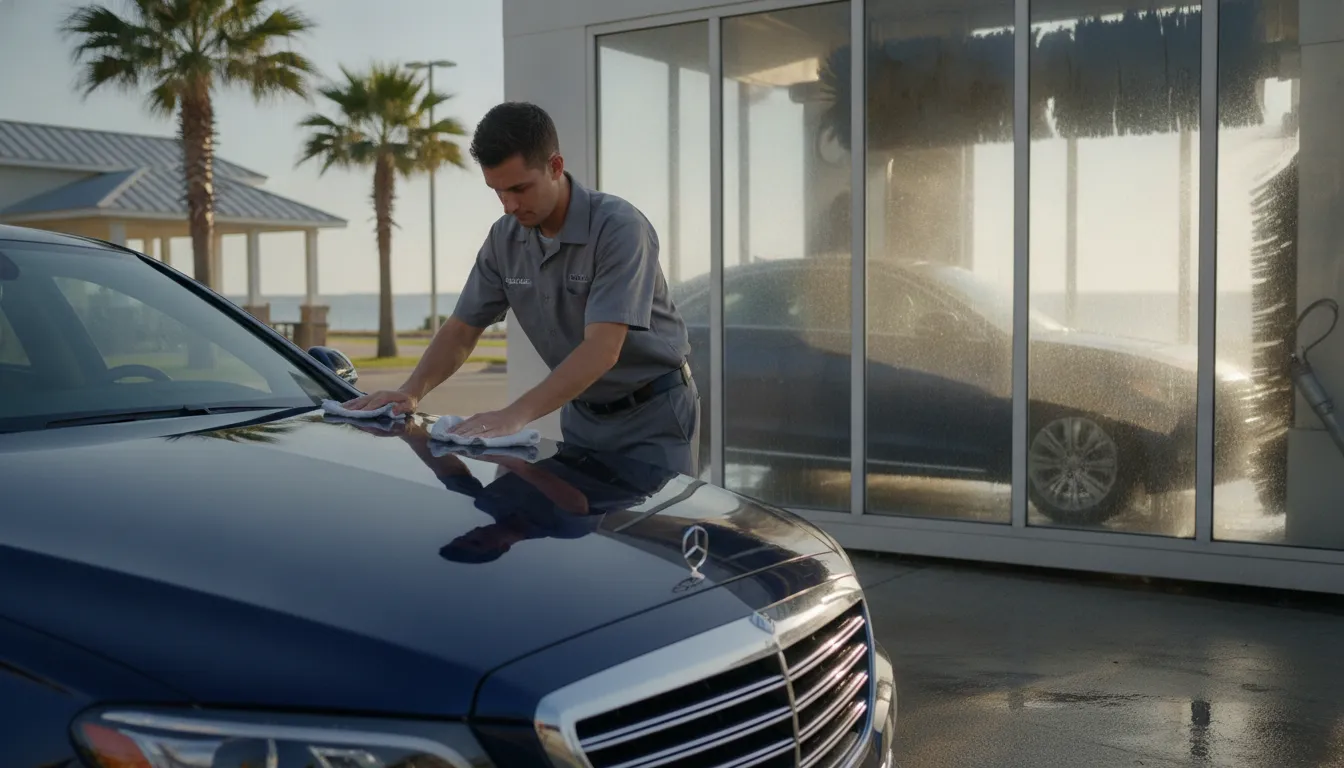
Letting your car air-dry might seem like the easy way out, but it’s a recipe for water spots. These spots are caused by mineral deposits left behind as water evaporates, and they can etch into your paint over time. To avoid them, you need to dry your car immediately after rinsing. Use a large, clean, and plush microfiber drying towel. Instead of rubbing in circles, gently blot the water or lay the towel flat and pull it slowly across the surface. This method is highly effective and minimizes the risk of scratching your freshly cleaned paint.
Step 7: Add a Final Layer of Protection
With your car clean and dry, the final step is to add a layer of protection. At a minimum, apply a tire shine to your tires. This not only gives them a deep, black finish but also helps protect the rubber from cracking. For your paint, a quick spray wax can add shine and a temporary protective layer. If you’re looking for a more durable, long-term solution, consider a professional Ceramic Coating. This creates a hard, hydrophobic barrier that protects your paint for years, making future washes even easier.
How to Wash Your Car Without Scratching the Paint
Nothing is more frustrating than finishing a car wash only to see a web of fine scratches and swirl marks in the sunlight. These imperfections are often caused by improper washing techniques, where tiny particles of dirt and grit are dragged across your car's paint. The good news is that you can prevent them. Following a few key steps will protect your finish and keep your car looking its best. If you want the ultimate defense against scratches, you might also consider a professional ceramic coating for long-term paint protection.
Use the Two-Bucket Method
The two-bucket method is a game-changer for preventing scratches. The concept is simple: one bucket is for your soapy water, and the other is for clean rinse water. This setup stops you from reintroducing dirt and grit into your clean wash solution. Before you start, gather two buckets, ideally with grit guards at the bottom. A grit guard is a plastic screen that sits in the bucket, trapping dirt at the bottom and keeping your wash mitt clean. You’ll also need a quality car wash soap, a soft wash mitt, and microfiber towels for drying.
Work in Sections and Rinse Your Mitt Often
To do the job right, wash your car in small, manageable sections, starting from the top and working your way down. This lets gravity help you by pulling dirt away from the areas you’ve already cleaned. After washing each section, like the roof or a single door panel, dip your dirty wash mitt into the rinse bucket. Rub it against the grit guard to release any trapped dirt and debris. Once it’s clean, you can dip it back into the soapy water bucket and move on to the next section. This frequent rinsing is the most important part of preventing scratches.
Wash in Straight Lines, Not Circles
It might feel natural to wash your car using circular motions, but this is a leading cause of swirl marks. Those circular patterns are highly visible in direct sunlight. Instead, always wash and dry your car in straight, overlapping lines. Move your wash mitt back and forth, either horizontally or vertically. If any micro-scratches do occur, they will be in a straight line and far less noticeable to the eye than a web of swirls. This simple change in technique makes a huge difference in the final appearance of your paint.
Choose the Right Soap
The soap you use matters just as much as your technique. Never use household cleaners like dish soap or laundry detergent on your car. These products are designed to strip away grease and grime, which means they will also strip away your car's protective wax and can dry out rubber seals and plastic trim. Always use a pH-balanced soap specifically formulated for automotive use. These soaps are gentle on your car’s finish and wax layer while effectively lifting dirt. Using the right products is a cornerstone of a safe wash, and our unlimited wash subscriptions ensure your car gets the right treatment every time.
Common Car Wash Mistakes to Avoid
You put in the effort to wash your car, so you deserve a great result. Sometimes, a few small habits can stand between you and that perfect, streak-free shine. Let's walk through some of the most common missteps and how you can easily avoid them to get a better wash every time. Getting that professional look is often less about adding more steps and more about perfecting the ones you already do. From the timing of your wash to the tools you use, a little bit of know-how goes a long way in protecting your vehicle's paint and achieving a finish you can be proud of. We see these mistakes all the time, and they are completely preventable. By making a few simple adjustments to your routine, you can avoid creating swirl marks, water spots, and other imperfections. Think of it as working smarter, not harder, to keep your car looking its best between visits to see us.
Washing in Direct Sunlight
It’s a beautiful, sunny day on the Gulf Coast, the perfect time to wash your car, right? Not so fast. Washing your car in direct sunlight or when the paint is hot to the touch can cause the water and soap to evaporate almost instantly. This leaves behind stubborn water spots and soap residue that are tough to remove. To get a flawless finish, try washing your car in a shaded spot. If you don't have access to shade, plan your wash for the cooler parts of the day, like early in the morning or later in the evening. This gives you plenty of time to rinse and dry properly without fighting the sun.
Skipping the Pre-Rinse
It can be tempting to jump straight to scrubbing with a soapy mitt, but skipping the pre-rinse is a recipe for scratches. Your car is covered in a layer of loose dirt, dust, and grit. When you start washing without rinsing first, you’re essentially grinding those abrasive particles into your paint. Always start your wash with a thorough pre-rinse using a pressure washer. Begin at the roof and work your way down, letting gravity help you wash the grime away. This simple step takes only a minute but is crucial for preventing swirl marks and protecting your car’s finish.
Using the Wrong Soap or Towels
Please, step away from the dish soap. While it’s great for greasy pans, it’s terrible for your car. Household detergents are designed to strip away everything, including the essential waxes and sealants protecting your paint. Using them can dry out rubber seals and leave your finish vulnerable. Instead, always use a pH-neutral car soap formulated specifically for vehicles. The same rule applies to towels. An old bath towel or paper towels can be surprisingly abrasive and leave behind lint or even fine scratches. Stick with soft, clean microfiber towels for both washing and drying to keep your paint looking its best.
Neglecting Your Wheels and Tires
Your wheels and tires are constantly battling brake dust, road grime, and dirt, making them the filthiest part of your car. If you save them for last, you risk splashing all that nasty stuff onto your freshly cleaned paint. That’s why the pros always clean the wheels and tires first. By tackling them before the rest of the car, you ensure that any overspray or dirty water lands on a surface that still needs to be washed. It’s a simple change in your routine that makes a huge difference. Our wash packages at all Classy Chassis locations include dedicated wheel cleaners to get the job done right.
Letting Your Car Air-Dry
After all your hard work, the last thing you want is for your car to be covered in little spots and mineral deposits. This is exactly what happens when you let your car air-dry. Tap water contains minerals that get left behind on the paint surface as the water evaporates, creating unsightly water spots. To achieve that truly spotless, professional finish, you need to dry your car immediately after the final rinse. Use a clean, dry microfiber towel or a dedicated car-drying air blower to gently remove every last drop of water. This final step is your ticket to a streak-free shine that really stands out.
How to Keep Your Car Clean Between Washes
Leaving the car wash with a sparkling clean vehicle feels fantastic, but how do you maintain that shine for more than a day? Keeping your car looking its best is an ongoing process, especially here on the Mississippi Gulf Coast where sun, salt, and humidity are part of daily life. The key isn't just about washing; it's about protecting your car's finish from the elements. A few simple habits can make a world of difference, extending the life of your wash and making cleanup easier next time.
Of course, the easiest way to handle in-between messes is to make washing a regular, effortless part of your routine. With our unlimited wash subscriptions, you can stop by for a wash anytime your car needs a refresh, whether it's a full clean or a quick rinse. For those times you need to do a little maintenance at home, these tips will help you protect your paint and keep that just-washed look for longer.
Apply Wax for Lasting Protection
Think of wax as sunscreen for your car's paint. A quality coat of wax provides a crucial protective layer that shields your vehicle's finish from the harsh coastal sun, salt in the air, and other environmental grime. It creates a slick surface that not only gives your car a deep, glossy shine but also prevents dirt and debris from sticking. This makes your next wash significantly easier. For best results, you should apply a fresh coat of wax every three to four months. Many of our wash packages include wax options, giving you an easy way to add this layer of defense during your regular visits.
Rinse Off Debris Promptly
We’ve all been there: you get your car perfectly clean, and within hours, it’s been targeted by a bird or splattered with bugs. Don't let that debris sit. Bird droppings and bug residue are acidic and can quickly eat through your car’s clear coat, causing permanent damage. The same goes for tree sap. The best thing you can do is rinse these spots off as soon as you notice them. A little water or a quick detailer spray and a microfiber towel can prevent a small mess from turning into a lasting problem. If you have an unlimited plan, you can always swing by one of our locations for a quick rinse.
Use Tire Shine to Protect Your Tires
Clean tires are the finishing touch that makes a car look truly detailed. But tire shine does more than just add that rich, black gloss. It also conditions the rubber, helping to protect your tires from the elements. Constant exposure to the sun's UV rays can cause your tire sidewalls to fade, dry out, and eventually crack. Applying a quality tire shine creates a barrier that helps prevent this damage, keeping your tires looking new and extending their life. For a clean application, spray the product onto an applicator pad instead of directly onto the tire to avoid overspray on your wheels.
Consider Ceramic Coating for Long-Term Protection
If you’re looking for the highest level of protection with the least amount of maintenance, a ceramic coating is your answer. This isn't a wax or sealant; it's a liquid polymer that chemically bonds with your vehicle’s factory paint, creating a durable, semi-permanent layer of protection. Our Classy Ceramics coating offers incredible defense against UV rays, salt, bird droppings, and chemical stains. Its hydrophobic properties are amazing, causing water to bead up and roll right off, taking dirt with it. This keeps your car cleaner for longer and makes washing a breeze. It’s the ultimate investment in preserving your vehicle’s appearance.
When to Call in the Professionals
While there’s a certain satisfaction in washing your own car, sometimes a job calls for more than a bucket and sponge can handle. Think of it like home cooking versus a five-star meal. Both are great, but they serve different purposes. Handing your keys over to a professional isn't giving up; it's making a smart investment in your vehicle's longevity and appearance. Professional detailers have the specialized tools, high-quality products, and expertise to achieve a level of clean that’s tough to replicate in your driveway, especially when dealing with the unique challenges of our coastal environment.
Life gets busy, and spending a few hours scrubbing your car isn’t always feasible. When your vehicle is facing a serious mess or you’re simply short on time, letting a pro take the wheel saves you effort and guarantees a spotless finish. At our locations across the Gulf Coast, our team is equipped to handle the toughest grime, from salty air residue to stubborn bug splatters. We give your car the deep clean it deserves so you can get back to your day. It’s the perfect solution for getting a reset and making future maintenance washes much easier, ensuring your car looks its best without demanding all your free time.
Signs You Need a Professional Detail
Not sure if you should tackle the job yourself? There are a few clear signs that it’s time to call for backup. If your car is caked in heavy mud, stubborn tar, or corrosive road salt, a professional has the equipment to safely lift it without scratching your paint. The same goes for the underside of your car, a critical area that’s difficult to clean without a proper lift. If you’ve noticed lingering odors, tough interior stains, or simply don’t have a free afternoon, a professional detail is your best bet for a thorough and efficient job.
Explore Full-Service Detailing Options
Opting for a professional service is the fastest way to get that showroom shine. Our full-service detailing uses advanced cleaning methods and specially formulated products to restore your car’s interior and exterior. We can tackle everything from stained upholstery to hazy headlights, leaving your vehicle looking and feeling fresh. For long-term protection that makes every wash easier, you can even explore options like a Classy Ceramics application. It creates a durable, glossy shield that defends your paint from the harsh Mississippi sun and coastal air, making dirt and grime slide right off.
Related Articles
Frequently Asked Questions
Why can't I just use the foam brush at the self-service wash? While it might seem convenient, that communal foam brush is one of the biggest culprits behind swirl marks and scratches. Think about all the caked-on mud and grit from every truck and car that used it before you. Those abrasive particles get trapped in the bristles and act like sandpaper on your paint. Bringing your own soft wash mitt is a simple swap that ensures you are the only one touching your car's finish, giving you a much safer and gentler clean.
I washed my car, but it's covered in little spots. What did I do wrong? You're likely seeing water spots, which are mineral deposits left behind after water evaporates. This usually happens for two reasons. First, washing your car in direct sunlight or when the body is hot causes the water and soap to dry too quickly, leaving residue behind. Second, you might not be drying the car completely after the final rinse. To avoid this, always wash in the shade or during cooler parts of the day and be sure to dry every surface with a clean microfiber towel.
Is the two-bucket method really necessary for washing my car? If you want to avoid scratches, then yes, it's one of the most effective techniques you can use. The logic is simple: it prevents you from washing your car with dirty water. By rinsing your mitt in a separate bucket of plain water after each panel, you release the dirt and grit you just removed. This keeps your soapy water clean, so you aren't dragging those abrasive particles back across your paint. It’s a small change in routine that makes a huge difference in protecting your finish.
What's the single most important thing I can do to keep my car looking good between washes? Protect the paint. A clean car is great, but a protected car stays clean longer and is easier to wash next time. Applying a layer of wax every few months creates a barrier against sun, salt, and grime. For the best defense, a professional ceramic coating chemically bonds to your paint, creating a hard, slick shield. This makes water and dirt slide right off and provides a level of protection and gloss that wax just can't match.
When should I stop trying to do it myself and just bring my car to a professional? A professional detail is the right call when you're facing a job that's too big for a simple wash or when you just don't have the time. If your car has deep interior stains, lingering odors, or is caked in stubborn grime like tar or tree sap, a pro has the tools and expertise to handle it safely. It's also a great idea to get a professional detail once or twice a year as a "reset" to get your car back to a like-new condition, making your own maintenance washes much easier.

Comments